fbpx

Sunscreen for Your Store: Protect your products from UV damage 

Bright sun

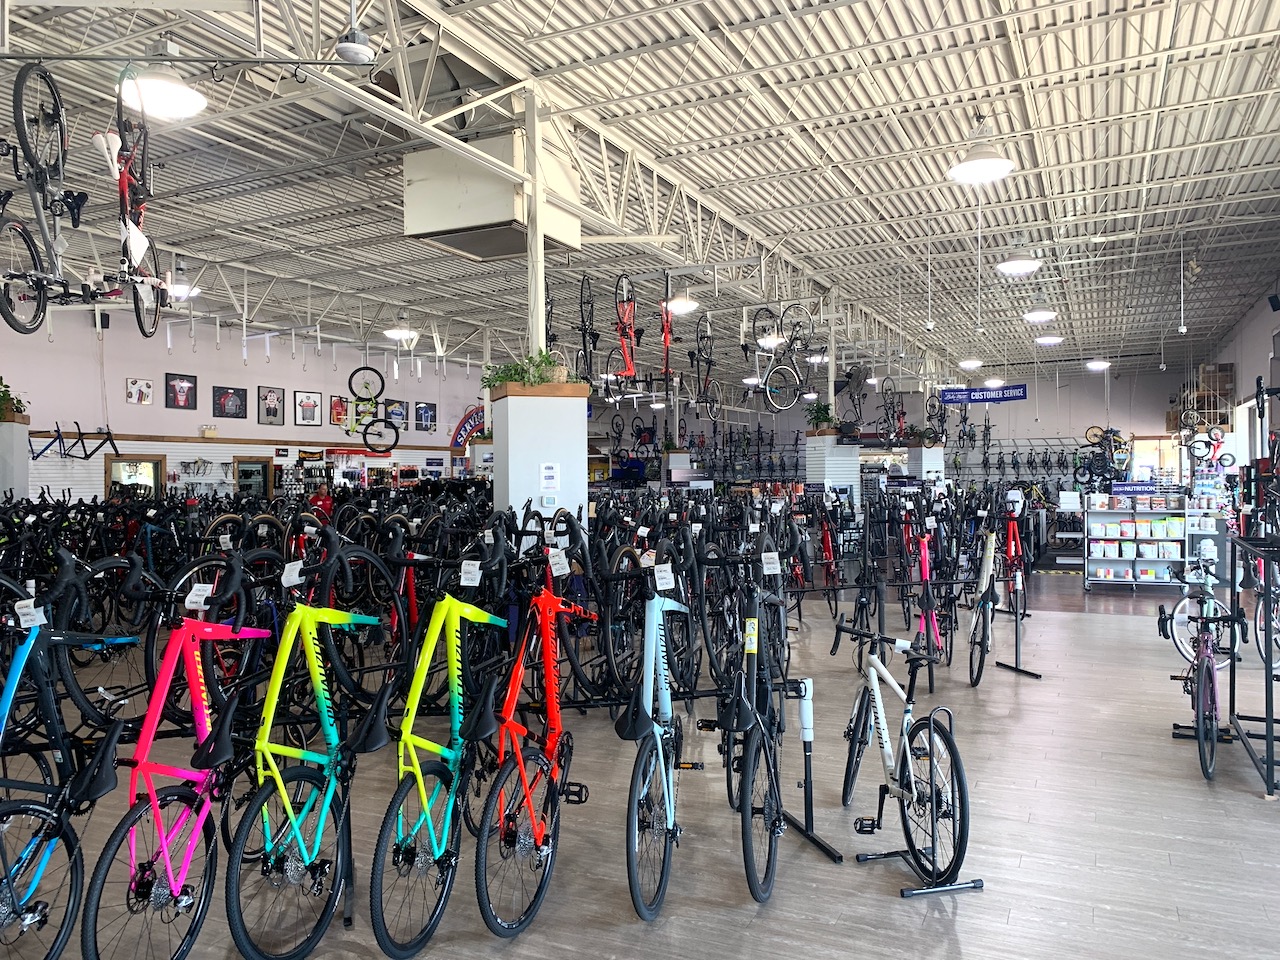
If you’re an outdoor retailer, the sun is essential to your shop’s existence—it allows your customers to get outside and pursue their favorite activities. But without proper precautions, the sun can damage your products. Fixture Lab consistently hears the same gripe from clients: storefront windows look great, but the products behind them crack and fade. How can we protect product from UV damage?

You put sunscreen on your skin. Turns out, you should be doing the same for your store.

The Problem

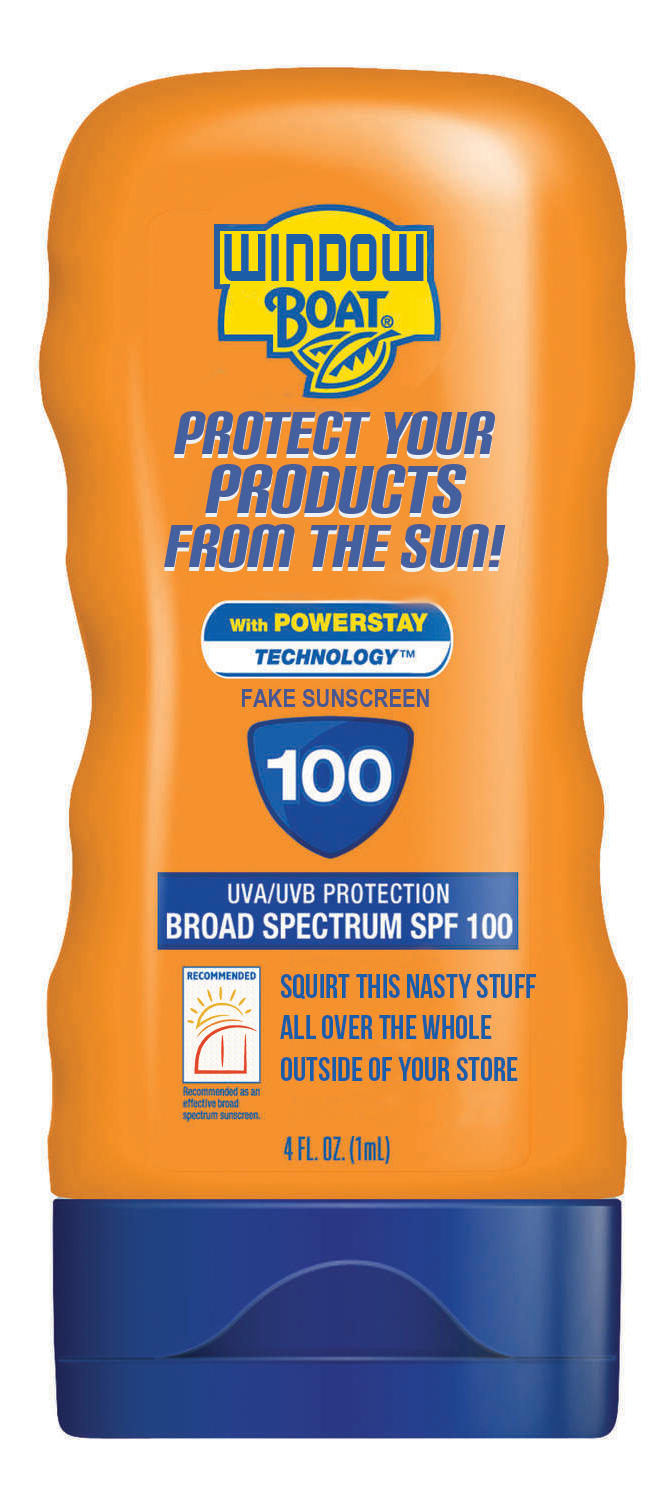
Not a real product:-)

Let’s get science-y for a second (forgive us, actual scientists). We’ll divide sunlight into three crude components: heat, visible light, and ultraviolet radiation (UV). Heat and visible light are easily observable, so we won’t spend too much time on them here. UV, on the other hand, has a shorter wavelength than visible light, so we can’t see it. UV also carries more energy than visible light, which is why you get burnt by the sun, but not the lights in your house. In oversimplified terms, UV degrades materials because its high energy gradually alters chemical bonds. As the bonds break and change, materials fade and become brittle. Some materials (like metal or ceramic) resist these effects, while others—plastics—are likely to be damaged. Just think about sunbaked patio furniture that snaps at the slightest touch. If you’d like more details on the science, we encourage you to check out this article from the magazine UV Solutions.

All three components of sunlight can negatively affect a retail environment. High heat melts fragile products and intense light makes the space uncomfortable for shoppers. UV causes products to crack and fade.

Thankfully, these three elements can be filtered and separated. An insulated window, for example, can keep out heat while letting in light. So, how do we filter for UV?

SolutionsWindow film

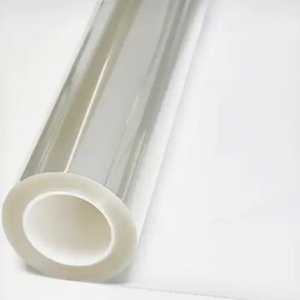
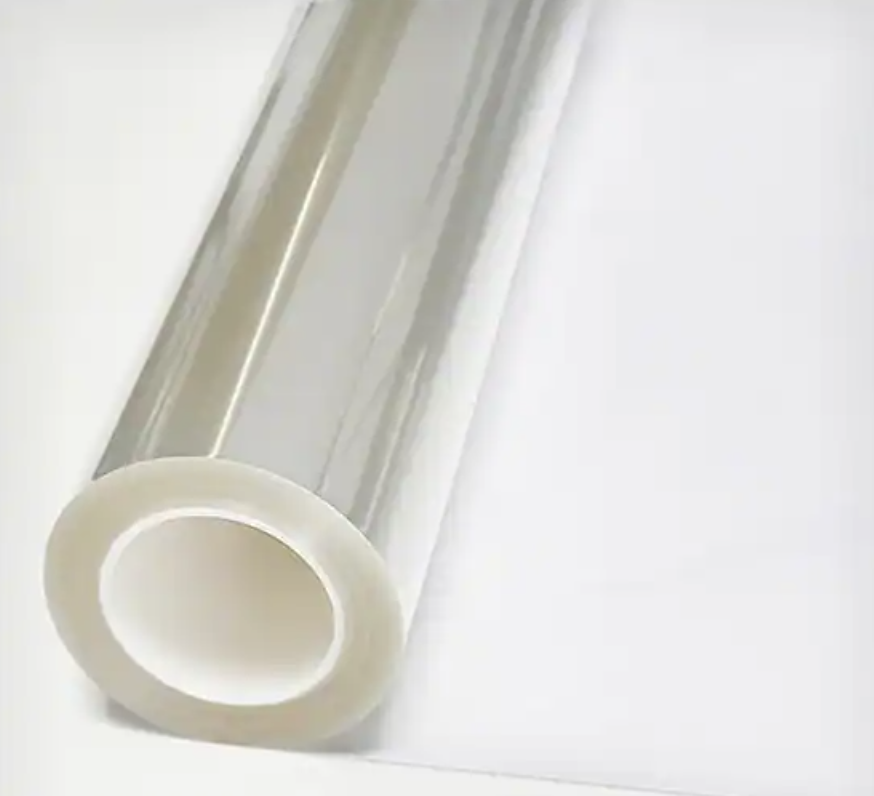
Many manufacturers produce film designed to let in light while blocking UV. The film acts sort of like sunscreen for your store. According to 3M, an industry leader in UV protection, 3M film can “reject up to 78% of solar heat” and “block up to 99% of harmful UV rays.” Plus, these films can be crystal-clear. You can find UV film with a variety of features at many different price points. Pricing per square foot often decreases the more film you buy. These films are accessible to the average consumer on sites like Amazon. They tend to be marketed to homeowners. They’re a great affordable option but may be less durable. These films can cost as little as $0.55 per square foot, depending on the size of the roll.


UV-films can also be a great way to change the look of your windows—whether for privacy or aesthetics. Frosted, tinted, corporate-office-style-mirror… the options are endless. Your local hardware store (Home Depot or Lowe’s) can be a good place to start exploring. These can be a slightly more expensive option, depending on the finish.

Security too!

Many stores—we’re looking at you, bike shops—are interested in preventing theft. Have you ever seen how a shattered car windshield keeps its shape? Films can do the same thing for your store, making it much more difficult to break in. Hardware stores likely carry these options for a slightly higher price ($0.75 and up per square foot)

The most radical option: New glass

Some modern windows have integrated UV protection, so you won’t have to mess with film. If you’re due for some new windows, you might consider factoring UV protection into the budget. Your window supplier/installer should have more information on these options.


Wait, do I really need this?

You may not need UV treatment on all your windows. When calculating your UV protection budget, we recommend that you prioritize windows with the most sun exposure and those in front of the most product. The bathroom window that leads to an alley? Probably not a priority.

There are also handy tools to help you decide which windows to treat first. You might consider purchasing a UV detector to get a better idea of how much UV is going through a particular window. With some luck, your windows might already be treated! The detector is also a good way to periodically check how your window treatment is holding up, since treatments degrade over time.


Installation

So, you’ve determined which windows to treat, and you’ve bought the perfect film. If you’re up for it, you can install the film yourself with minimal tools: you’ll need a tape measure, a marker, a sharp blade and/or scissors, tape, window cleaning product, paper towels, and rubber/plastic scrapers. There’s a wealth of YouTube videos by homeowners and professionals that walk you through the installation process. With some focus and patience, you can treat your windows over the weekend—and save quite a bit of money!

If you’d rather not mess with installing films, professional services would be happy to install the films for you. The cost will depend on the surface are of the window(s) you want protected, among other factors. An online quote calculator can help you get a better idea of the price tag. To give you a rough idea, one window film installer estimates that 3M film installation will cost between $5 to $12 dollars per square foot, depending on the film quality and quantity.


If you’re worried about all the stuff that’s cooking in your store, reach out to us. Fixture Lab is happy to help!

Free Tour! What has Fixture Lab been up to in Denver, Colorado?

At Fixture Lab, we value versatility. We love being your go-to for a variety of needs, from lighting to heavy lifting. The downside, however, is that people sometimes ask us: “what is it that you do, exactly?” Since “anything” isn’t a satisfying answer, and “everything” would be an exaggeration, we thought of a creative way to show you what Fixture Lab does. Join us on a walk-through of Good Turn Cycles, a recently-completed bike shop in Denver, Colorado. You’ll learn about our process, expertise, and how Fixture Lab can help you create an amazing store!


Here is just a sneak peek at what you will find once you press play below:


Side note: in case you missed it, our first walk-through video was of The Hub, a bike shop in Jackson, Wyoming. Go check it out once you’re done here!


As you’re watching and chomping on some popcorn, take special note of how Fixture Lab can help with:
  • Space planning. Turning your space into a thriving retail store is where we shine!
  • Lighting. Everything about it. Where, which lights, and why.
  • Fabrication. We know the people who can get any job done.
  • Fixtures (duh!). It’s in the name. We provide versatile, effective display solutions.
  • Installation. We’re happy to put in the legwork.
  • Moving shipping containers with forklifts
  • Hanging big, weird metal structures

You tell us! We’d love to help make your vision a reality.


When you’re done, reach out to Good Turn to let them know how their store inspired you to remodel yours. Hungry for more? Check out the walk-through of The Hub we mentioned earlier.

THE HUB 

Take this virtual tour, and see what Fixture Lab does!

The Hub Bicycles

At Fixture Lab, we get this question all the time: “We are remodeling our store and we could use some help, but I don’t really know what you guys actually do in the process. What do you do?” So, as we were looking at our photos of The Hub, we got to thinking that this would be an ideal opportunity to show off the new store AND help everyone understand the things we typically do in the store design/remodeling process.

Check out the video. Inside you’ll see nicely handled examples of these common things we address:

  • Creating great storytelling opportunities in your store
  • Great store flow design
  • Specifying and using standard and custom Fixture Lab fixtures
  • Service, cash wrap and bar counter design and fabrication
  • Choosing paint and other finishes, including tasty wood wall textures
  • Custom bike displays
  • Adding local flavor to the space
  • Custom graphics and signage (interior and exterior) including fun items like neon signs
  • New concept for a “cash wrap” transaction counter
  • Designing and utilizing sexy, effective lighting

You will love this tour, so pop some popcorn and your beverage of choice, and have fun!

When you’re done, reach out to The Hub and tell them what a good job they did!


Want the customer’s eyes on your product? Try removing the ceiling.

How painting the ceiling can help to upgrade the store and focus the shopper’s attention on the product below.

Over the years, we have recommended painting the ceiling to a lot of stores. Sometimes the ceiling in a store is messy, dirty or distracting because there are so many colors going on up there.

A lot of the time the ceiling is just painted white (or some other light color) and the net effect is unoffensive…but uninspired.

If the ceiling was painted a light color it’s usually because the store was afraid that a darker color would feel heavy, or subtract from the light in the space.

What we have found is almost exactly the opposite impact.

Richardson Bike Mart
Before: Richardson Bike Mart

Three things a darker ceiling does for your store:

  1. Gives your eye less to look at overhead, thus drawing your eye down below to the product on display
  2. Improves the contrast in the product’s reflective surfaces, making it prettier looking
  3. Creates visual definition between the ceiling and the space below which helps to define the shape and depth of the space

Case study: Richardson Bike Mart, Richardson Texas

Richardson Bike Mart is a big store. A real big store. Making the decision to paint 18,000 square feet of ceiling that’s 21 to 25 feet high was no small decision.

Our strategy for the whole store remodel has been to turn from the feel of an overwhelmingly large warehouse, to a more modern, more inspired, more approachable space.

Certainly painting the ceiling alone isn’t going to change everything, but it is a big and very impactful move. We are also relighting the space, creating much better storytelling opportunities throughout, and reducing clutter and visual distraction overall. All these things together are going to really make for a remarkable update to this venerable store!

Even half-done, the darker ceiling already gives the eye a much-needed rest.

“We have a 22-year-old building with 25 ft ceilings that haven’t been renovated since we moved in it. The goal was to get bikes off our tall ceilings and for the store to look more like modern-day retail stores and less of a warehouse look. I was listening to an NBDA Podcast with Brian Hawkins and invited him to Dallas to show him our challenges and he gave us a dynamic plan that we are starting now. Part of that plan was painting our white ceiling a dark grey color. I was reluctant to do it because of the price. It was north of $30,000+. Painting the ceiling just didn’t seem like a good return on our money. Long story short, I went to REI, lululemon, and others and they all had a dark or black ceiling. I was shocked that the darker color didn’t draw my eyes to the ceiling at all. It was like there was no ceiling.  All I saw was the product. I have no regrets we did it and it works!”

Woody Smith, Owner, Richardson Bike Mart
Richardson Bike Mart
The updated, modernized ceiling at Richardson Bike Mart

If you’re curious about learning simple, yet profoundly impactful tactics to improve your store’s design and in turn, your sales, you need to listen to the exact webinar by Brian Hawkins here…the webinar that inspired Woody Smith to modernize his humungous, outdated bike shop through the help and planning of Fixture Lab.

Looking for help with re-designing your store? Contact us here or give us a call 303-777-2014. We’d love to help create your dream store.

Fixture Lab reveals retail store design secrets that will give your store an unfair advantage!

If you are an NBDA member you need to know about this fun Webinar

How’s an independent retail store supposed to compete with the big guys these days? How can I make my own store as engaging as the national brands/stores? And how the heck can I make my store’s brand stand out without spending zillions of dollars? If you’re asking questions like these, this webinar is just what the doctor ordered for you! In this fun presentation Brian Hawkins (the leader of Fixture Lab), will take us through a treasure trove of retail store design tips and best practices that the leaders in retail use every day. It’ll be like getting the keys to unlock the store you’ve been dreaming about.

Watch it here!

https://www.youtube.com/watch?v=yj_HnilE2vU

Blazing Saddles opens first retail bike shop in Sonoma!

We are very excited to announce our latest! Blazing Saddles called us when they decided to open a retail store alongside their new bike rental location in Sonoma, California.

Before and after photo of Blazing Saddles, Sonoma
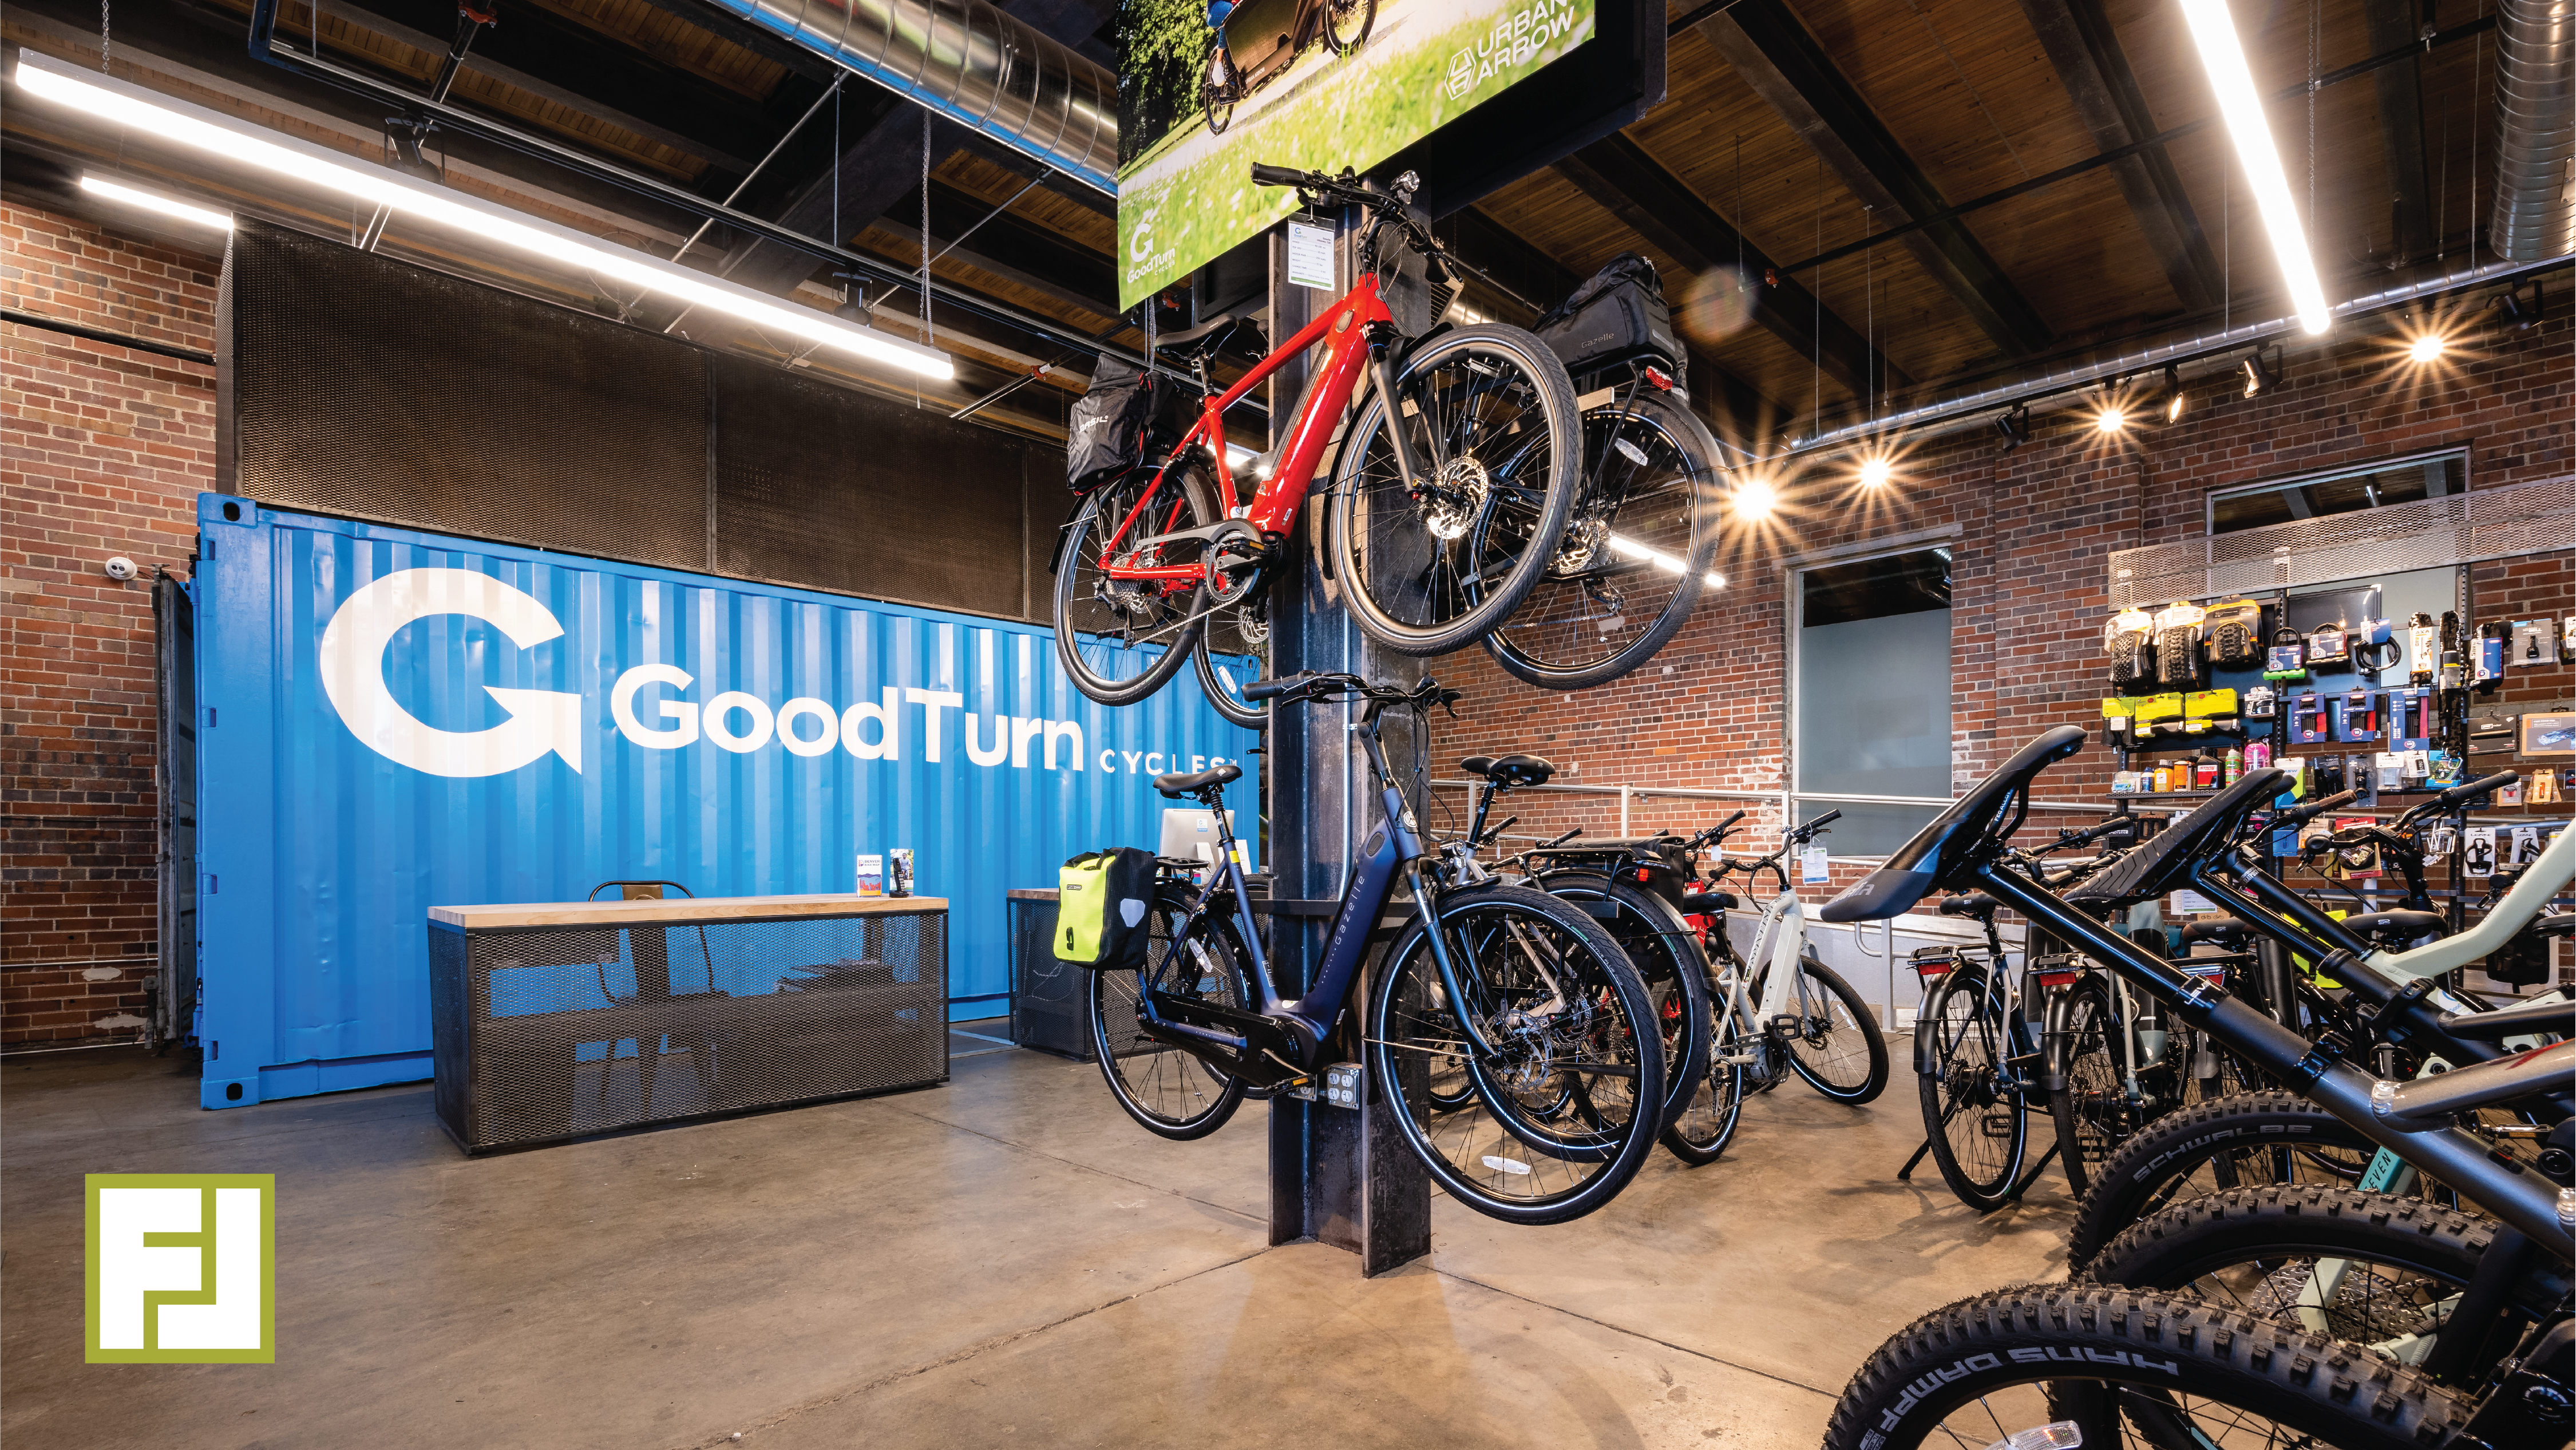
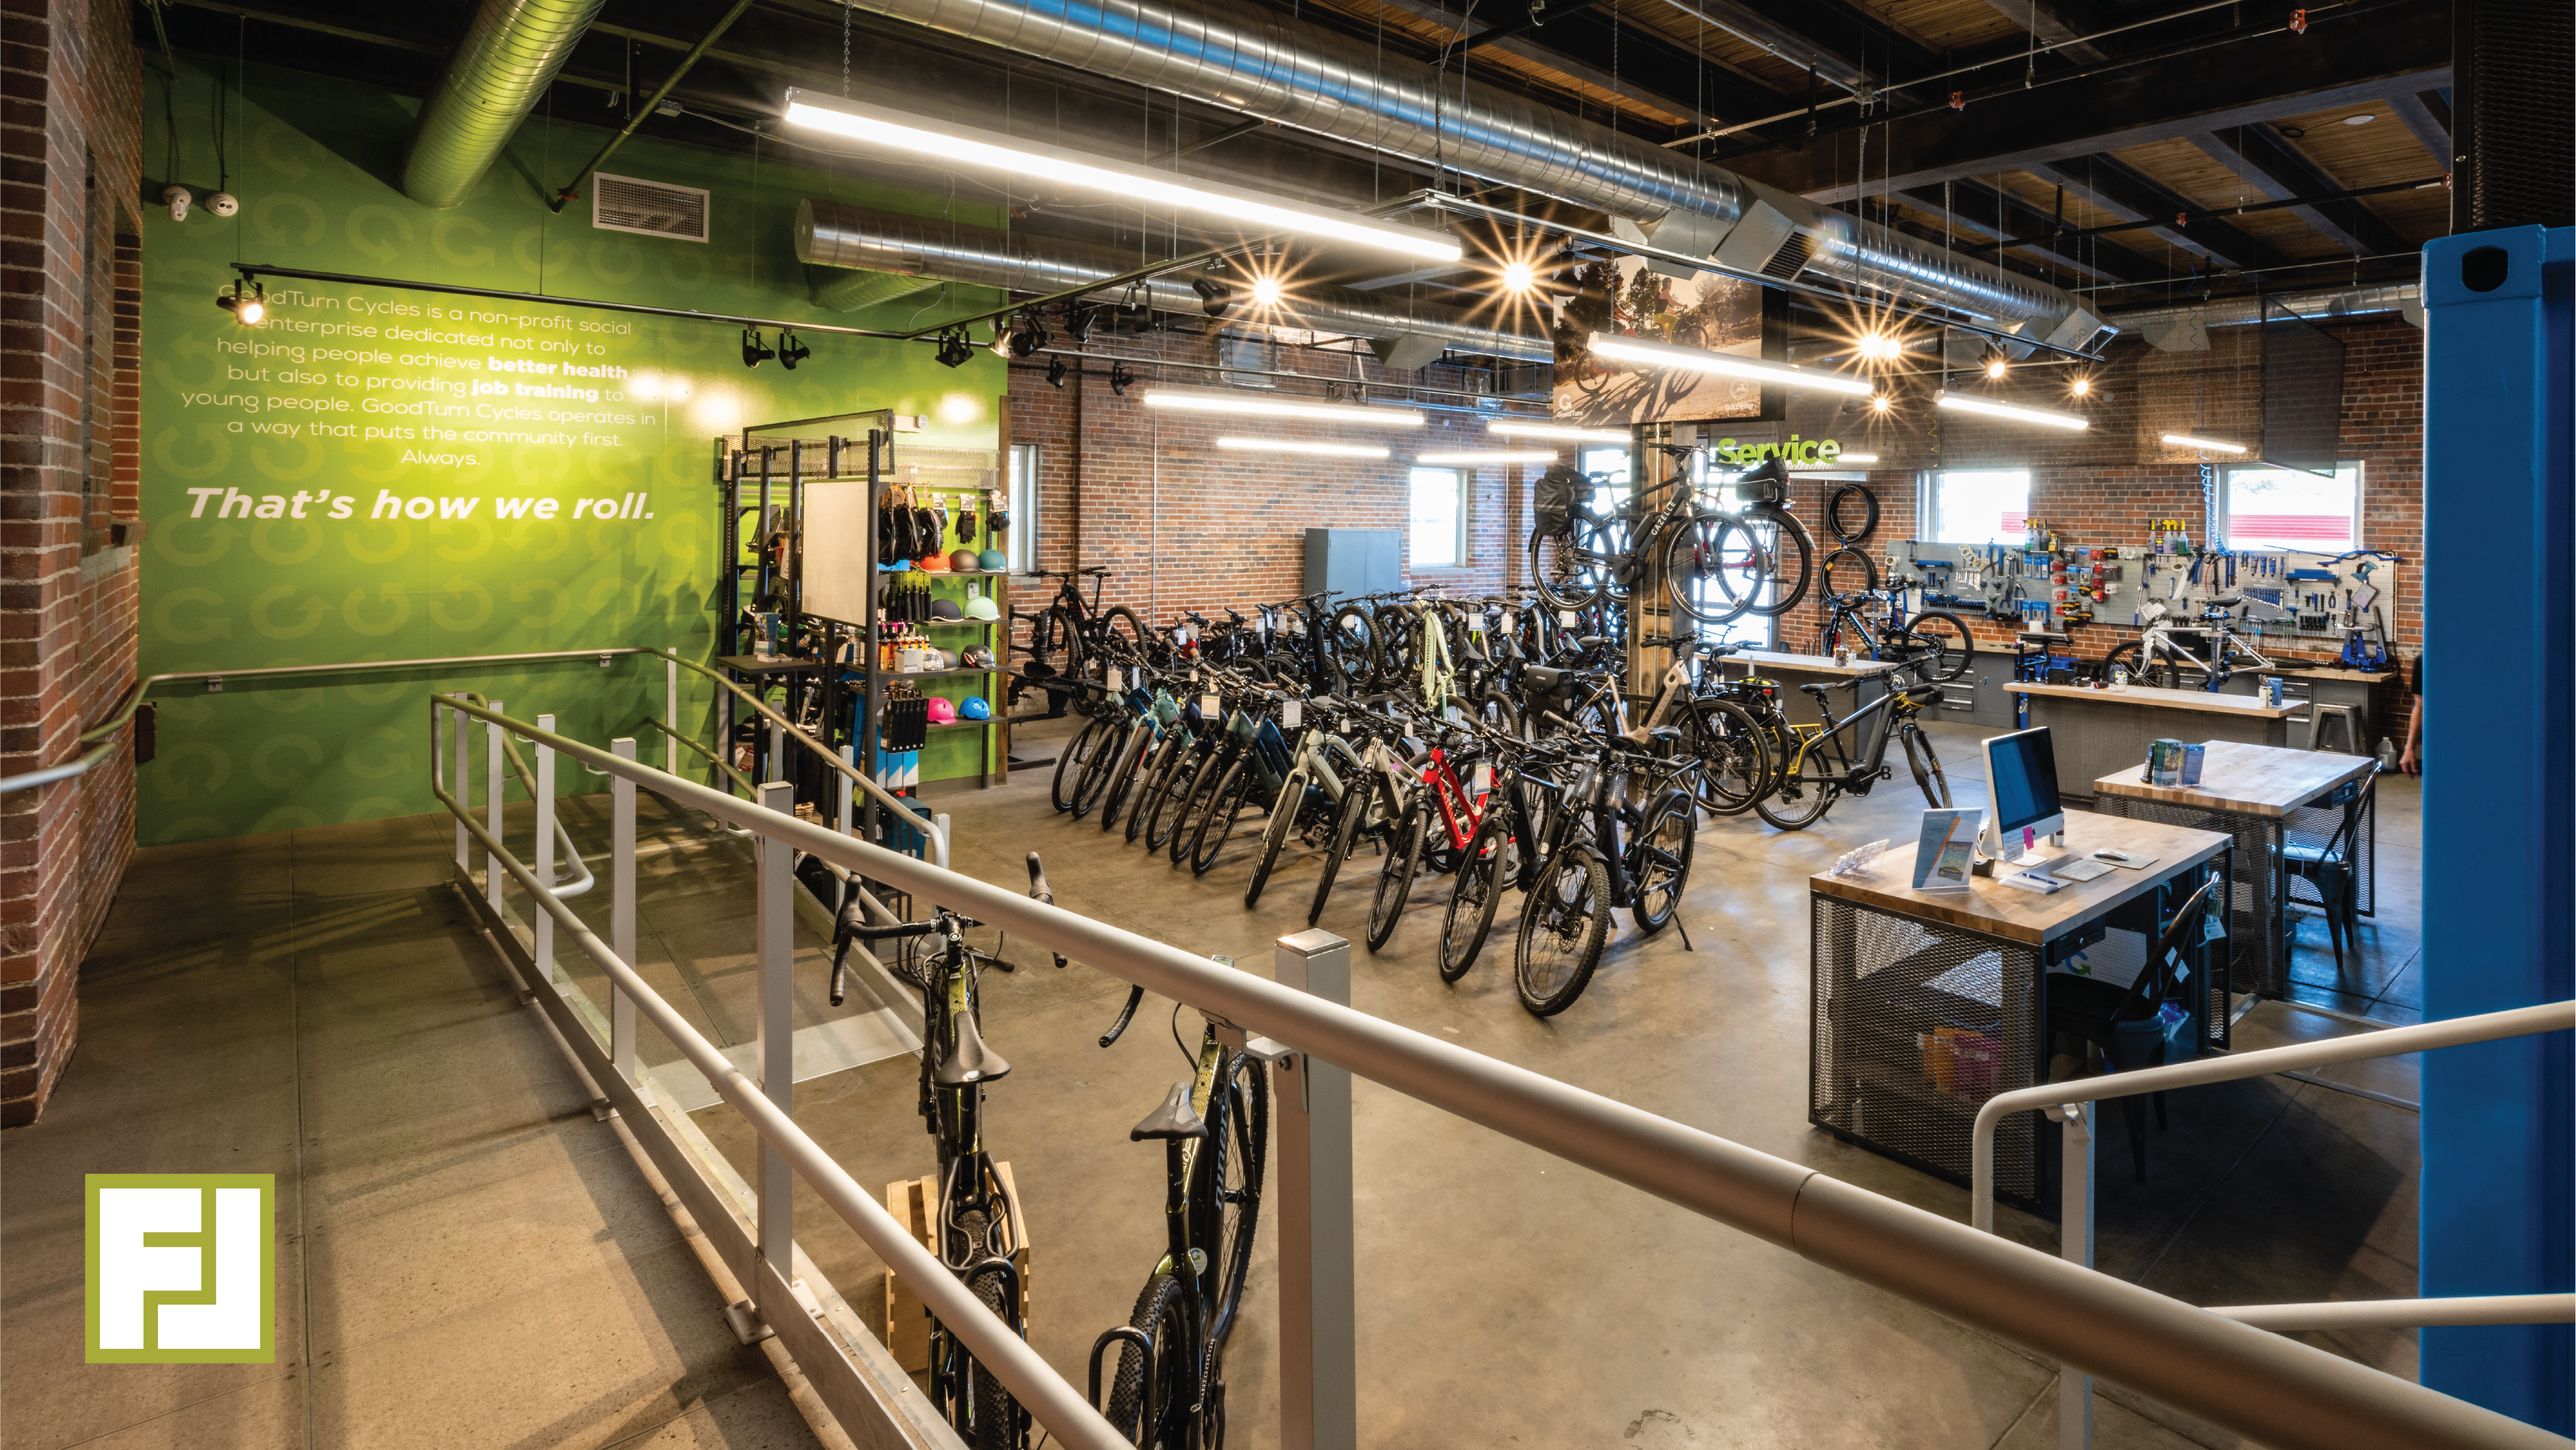
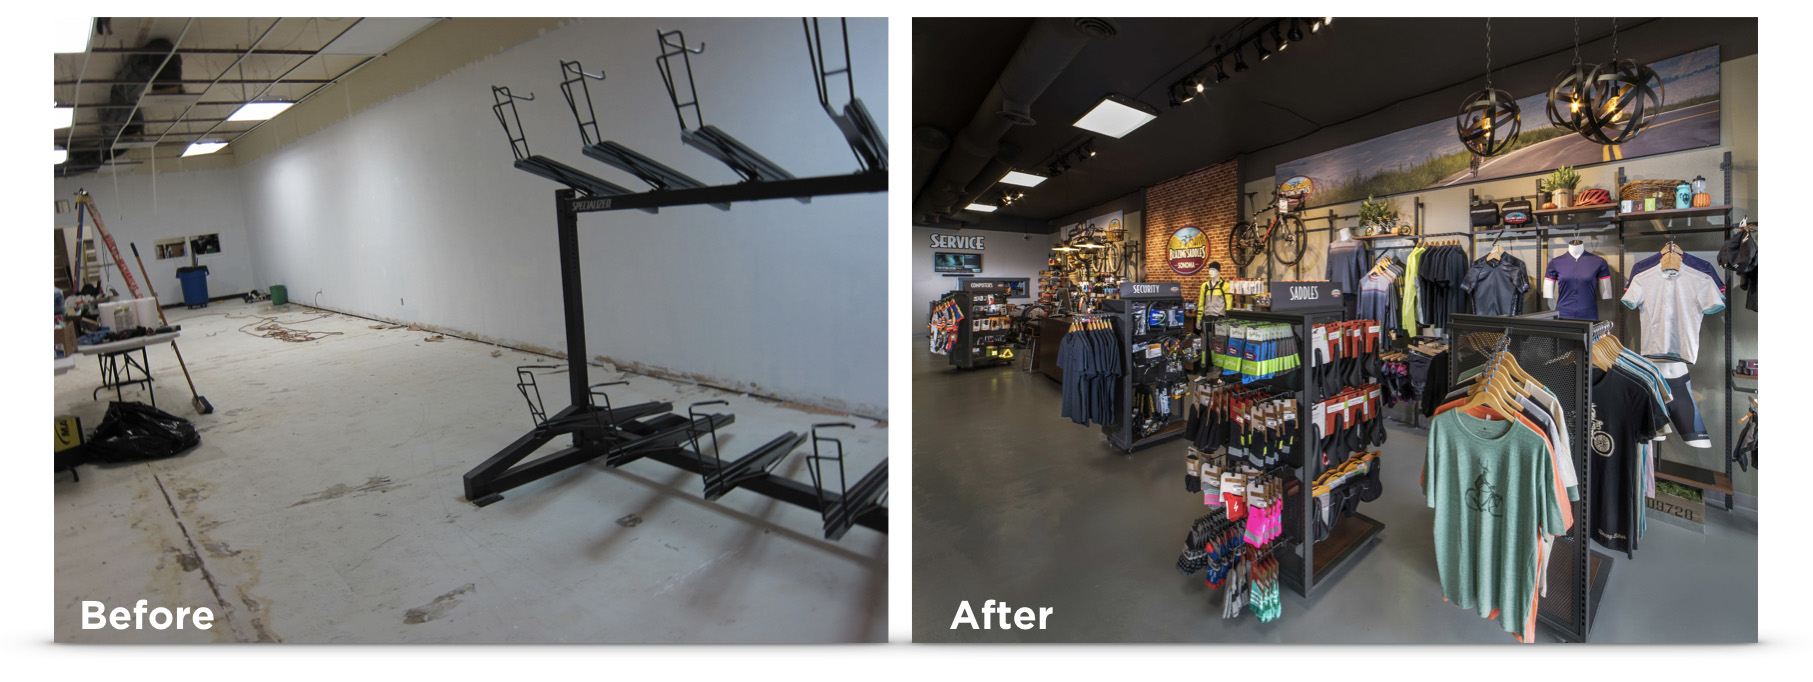
Getting a chance to help a veteran bike rental organization with a new retail store.

You might know Blazing Saddles already, because they run an amazing business in San Francisco renting bikes to about a billion people a day. When you are around San Fran, you can’t miss the droves of happy people on Blazing Saddles bikes. Their operation is seriously impressive, so when they called and said that they wanted help designing and implementing the retail & rental store in Sonoma, we were like, “Oh hell yea!”

We were able to pretty much help with every aspect of the new store…floor plan, fixtures, graphics, signage, merchandising, etc. We even installed one of those Sonos sound systems that you might have read about in our previous blog post. By the way, see those fixtures? The Blazing Saddles team wanted a look of their own, so we produced all the fixtures in their own dark grey paint color. They look really great!

We could not have had a better time working with the awesome team at Blazing Saddles! If you are in the area, make sure you stop by and say “Hi”

Flip through these pics!

Go check it out!

Blazing Saddles
20093 Broadway, Sonoma, CA 95476
https://www.blazingsaddles.com

8 great things that bike shops can learn from a KFC, of all places.

What does a bike shop have to do with a KFC restaurant?

The other day I happened to find myself in a KFC restaurant. As I was looking around the space, it dawned on me that they had done a really nice job with a number of things that we always encourage bike shop stores to consider. So I thought, “Hey, why not share them?” As you look, ask yourself, “If the average KFC store can do these things right, what prevents me from doing them too?”

Have fun reading, and stay tuned because at the end, I’ll give you a link to download a PDF.

Tell stories about where your store came from.

Want to save and share these ideas?

As promised, here is a link to a PDF of these tips.

Download the PDF


Looking for a comprehensive, detailed resource on exactly how you can improve your bike shop?

Check out our previous blog post with a value-packed, information filled video presentation we did for Brooklyn Bicycle Company here.

The right overhead light for a retail store’s dressing room.

We are always looking for great lighting solutions for all the stores we work on. Recently, we uncovered this really great ceiling light that works great for a dressing room. And the bonus, it’s only $69.95.


A few words about lighting a dressing room:

Your goal when lighting a dressing room is easy: Make the customer look like a million bucks. Certainly the size of the room, the colors, and the finishes have a lot to do with you hitting your goal. Great lighting however, is one of the very best investments in your plan. It’s easy too! It really makes you wonder why so many retailers, big and small, get the lighting part so wrong.

In a nutshell, you need two basic lights in the dressing room to make the customer look great.

  1. A nice soft overhead light
  2. Lights that illuminate the front of the subject in the room. We are going to do a whole separate post about these lights, so stay tuned.
  3. Poor overhead light in a dressing room

Attributes of a great overhead light:

  1. The light should be diffused or indirect…not direct spot lights that cast dramatic shadows. Pretty much, the softer the light the better.
  2. The right color temperature is important. The most flattering light for skin tones and clothing is around 3000k.
  3. The style of the light should compliment the room.
  4. It sure doesn’t hurt if the light is inexpensive, am I right?!

Drum Flush Mount Light from CB2Introducing the “Drum Flush Mount Light” from CB2: 

1. The simple and clean design allows it to fit into almost any design plan.
2. The overall size of the shade (19.75″Wx19.75″Dx6″H) is pretty big, which does a great job of spreading out the light. The diffuser on the light softens and makes the light pretty.
3. It uses two standard bulbs (up to 60W incandescent or equivalent LED or CFL), which makes dialing in the exact amount of light real easy, and swapping out lamps later simple.
4. Did we mention it is only $69.95?


What are you waiting for?


If your dressing room needs a little shot in the arm, hop on over to CB2 and order one up! Click here to see it!

Ceiling drum light by CB2CB2 also makes a “oversized drum flush mount light” which is a huge 34″ across. If you have a larger room, that could be just what the doctor ordered! Check it out


The first person to send us before and after photos will get a social media shout out….and perhaps a little surprise from us! Aren’t you dying to find out what that might be?!

Ready. Set. Go!