
Add graphics AND decrease echo in your retail store!
Pretty much everyone agrees that strong graphics contribute to a great sales atmosphere. And most people also agree that noisy retail environments can ruin the shopping experience.
Effective retail stores invite customers in and keep them shopping. We’ve all visited stores with sound so deafening and annoying that we can’t wait to leave. Well, we have a super genius trick for you! Here’s how to add visual excitement to your store while subtracting acoustic distractions. The video below walks you through how we applied this technique to a bike shop.
Start by using the right kind of graphics: Silicone Edge Graphics (SEG).
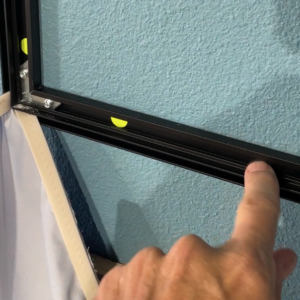
SEG frame mounted to the wall
SEGs have about a million advantages over old-fashioned rigid graphics or vinyl graphics. They are great looking, inexpensive, easy to ship, easy to change, and you can make them in just about any size. However, there’s another advantage hidden in the little gap between the fabric graphic and the wall. If you’re really smart (like us, of course), you can use that sliver of space to tackle the sound problem in your store!
Install the sound-sucking material
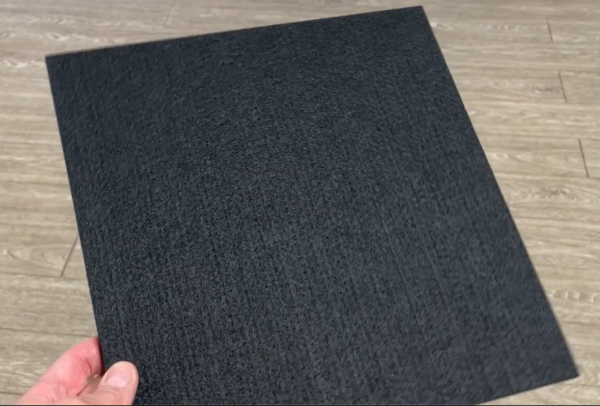
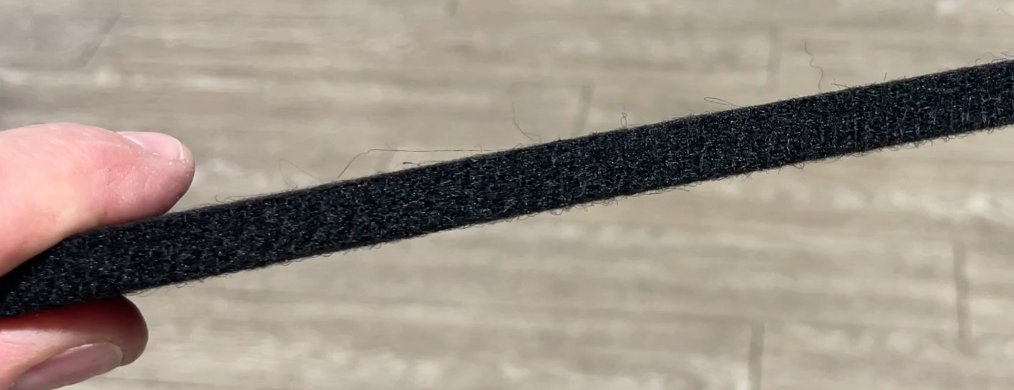
There are a number of products on the market that do a great job of absorbing sound. Sound-absorption materials are really popular these days because of their usefulness for eliminating echo in online meetings and podcasts. Every sound recording studio in the world uses some sort of sound baffle system, and we think more retail stores should too. The product shown here is a ½” thick, semi-rigid, felt-like material. The tiles come in 12×12” squares, so installing them is easier than losing your car keys.
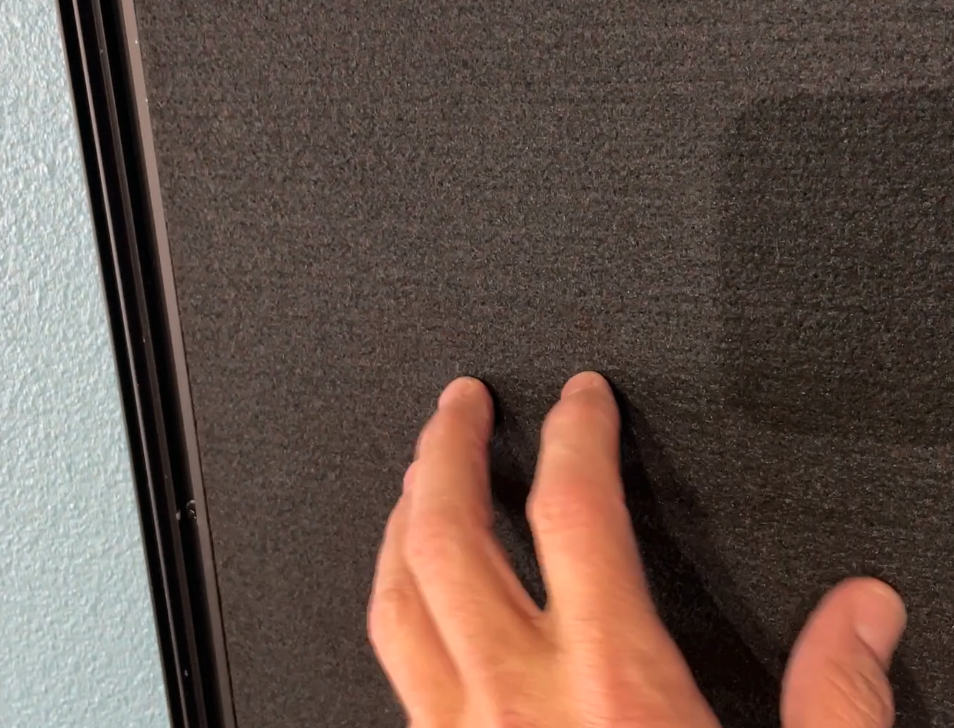
Once you have the SEG frame up on the wall, just fill it with as many sound tiles as possible. In the example above, we used silicone glue to stick the tiles to the wall and made sure they wouldn’t move by tacking them in place with a couple of tiny nails (from a handy nail gun). This process goes extremely fast. Remember that the sound tiles won’t be visible, so they don’t have to be flawlessly cut or perfectly positioned inside the frame. The more tiles you fit, the more echoes you’ll eliminate.
Install the graphic over the tiles
 After the acoustic tiles are in place, you can simply install the fabric graphics as you normally would. Just like that, you’ve accomplished two major improvements at once: amplifying your visuals and dampening your sound. Right about the time you finish this project, your customers will be clamoring to buy stuff from the store – so be ready. They’ll probably say things like, “wow, that’s such a nice image. And darn it, I don’t know what it is, but I feel completely comfortable in your store. Here’s my credit card.”
If you are interested in tackling this project, let us know. Fixture Lab can help you with all the nitty-gritty details.